YOUR TECHNICAL GUIDE TO ZOOM-AND-ENHANCING
YOU KNOW THE SCENE; they're in the office, it's late at night, and all they need to do to identify the killer is figure out who is on that survelliance footage. Well you always thought it was magic, but here it is, the exact method to proffessional zoom-and-enhancing!
STEP 1. Get the image.
(This is just a photo from Sydney, but it will do nicely. Let's try to figure out what time it is...)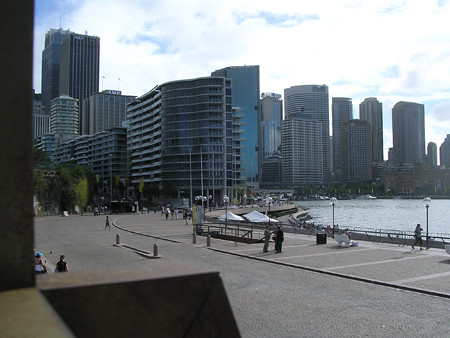
STEP 2. Polarise the co-ordinates. This is done by randomly pressing the letter keys on the keyboard. (ie. kjhfdjkhdsdjhg)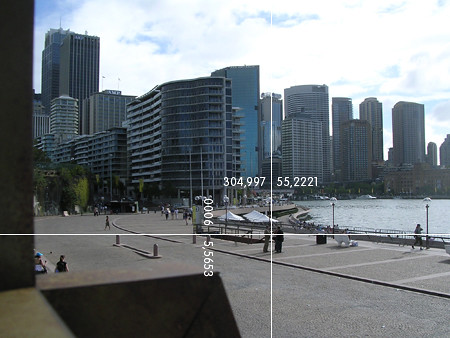
STEP 3. Select the area to zoom in on by pressing the enter key.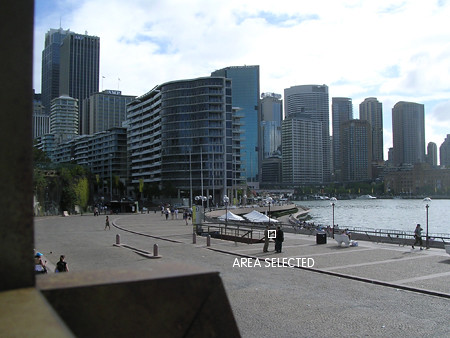
STEP 4. Press the keyboard a few more times to zoom in a little.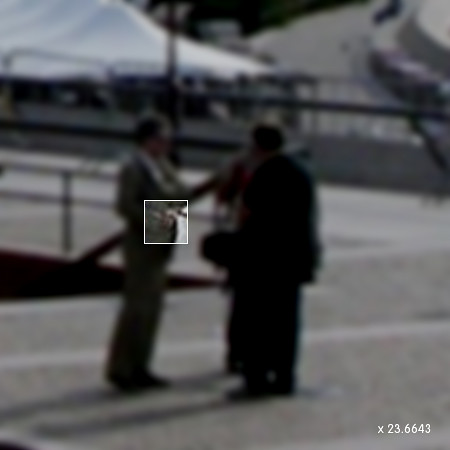
STEP 5. Zoom in more. Your boss wants you to zoom in more so we can see the guys watch. You do this by pressing the keyboard again in short bursts (ie. hngjd lghd is skhf)
STEP 6. Enhance. This is the best bit. Press a few keys once again to enhance the image to a crystal clear zoom of the watch. What could be easier?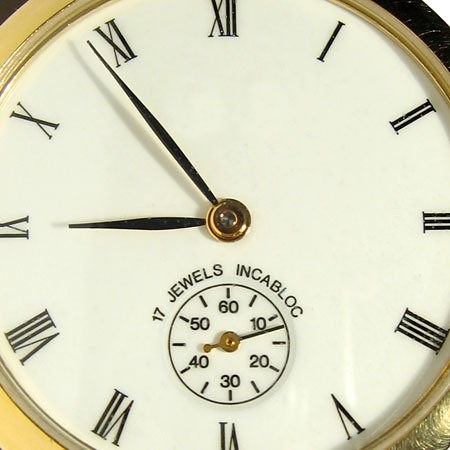
PLEASE NOTE: You might need to be in a special program such as MS Paint or ImageVeiwer to be able to do these image adjustments, but often it can be done straight from the desktop. EASY!
Brought to you by your friendly image proffessional: IESSO


3 comments:
No thats quite right. The more worn out the better. I think you can see atoms or at least molecules from 8mm film from the 1920's...
Z-and-E is the future!
CLEARLY this was a mock-up... i mean come on its soo obvious... i mean look ... look at the position of the sun... and then look at the time... 5 minutes to nine! clearly it is faked!
Your mom is fake!
Post a Comment